Sunday, February 24, 2013

Activity 4: Azimuth Survey

Introduction
The point of this activity was to learn how to use alternative methods to survey an area. Our professor emphasizes how important it is to know how to use several different surveying methods, in case high quality technology isn't at our disposal. Without high powered GPS units, a good way to survey an area is to locate a point of origin and record distance and azimuth data to survey the surrounding area. Using this method, only one GPS point is needed (or in this case, a good aerial map). It is important to understand the process first. The azimuth is a measure of the angle that you are facing (north, east, south and west). This measurement can be affected by magnetic declination, which is the difference between magnetic north and true north. As a subject's location gets farther from the line where true north is constant, declination increases. To make up for this, degrees must be added or subtracted from the azimuth, depending on how much declination there is, and whether it is positive or negative. Luckily here in Eau Claire, the magnetic declination is merely 0 degrees 58 minutes West, which is too minimal to account for in our survey.

Methods
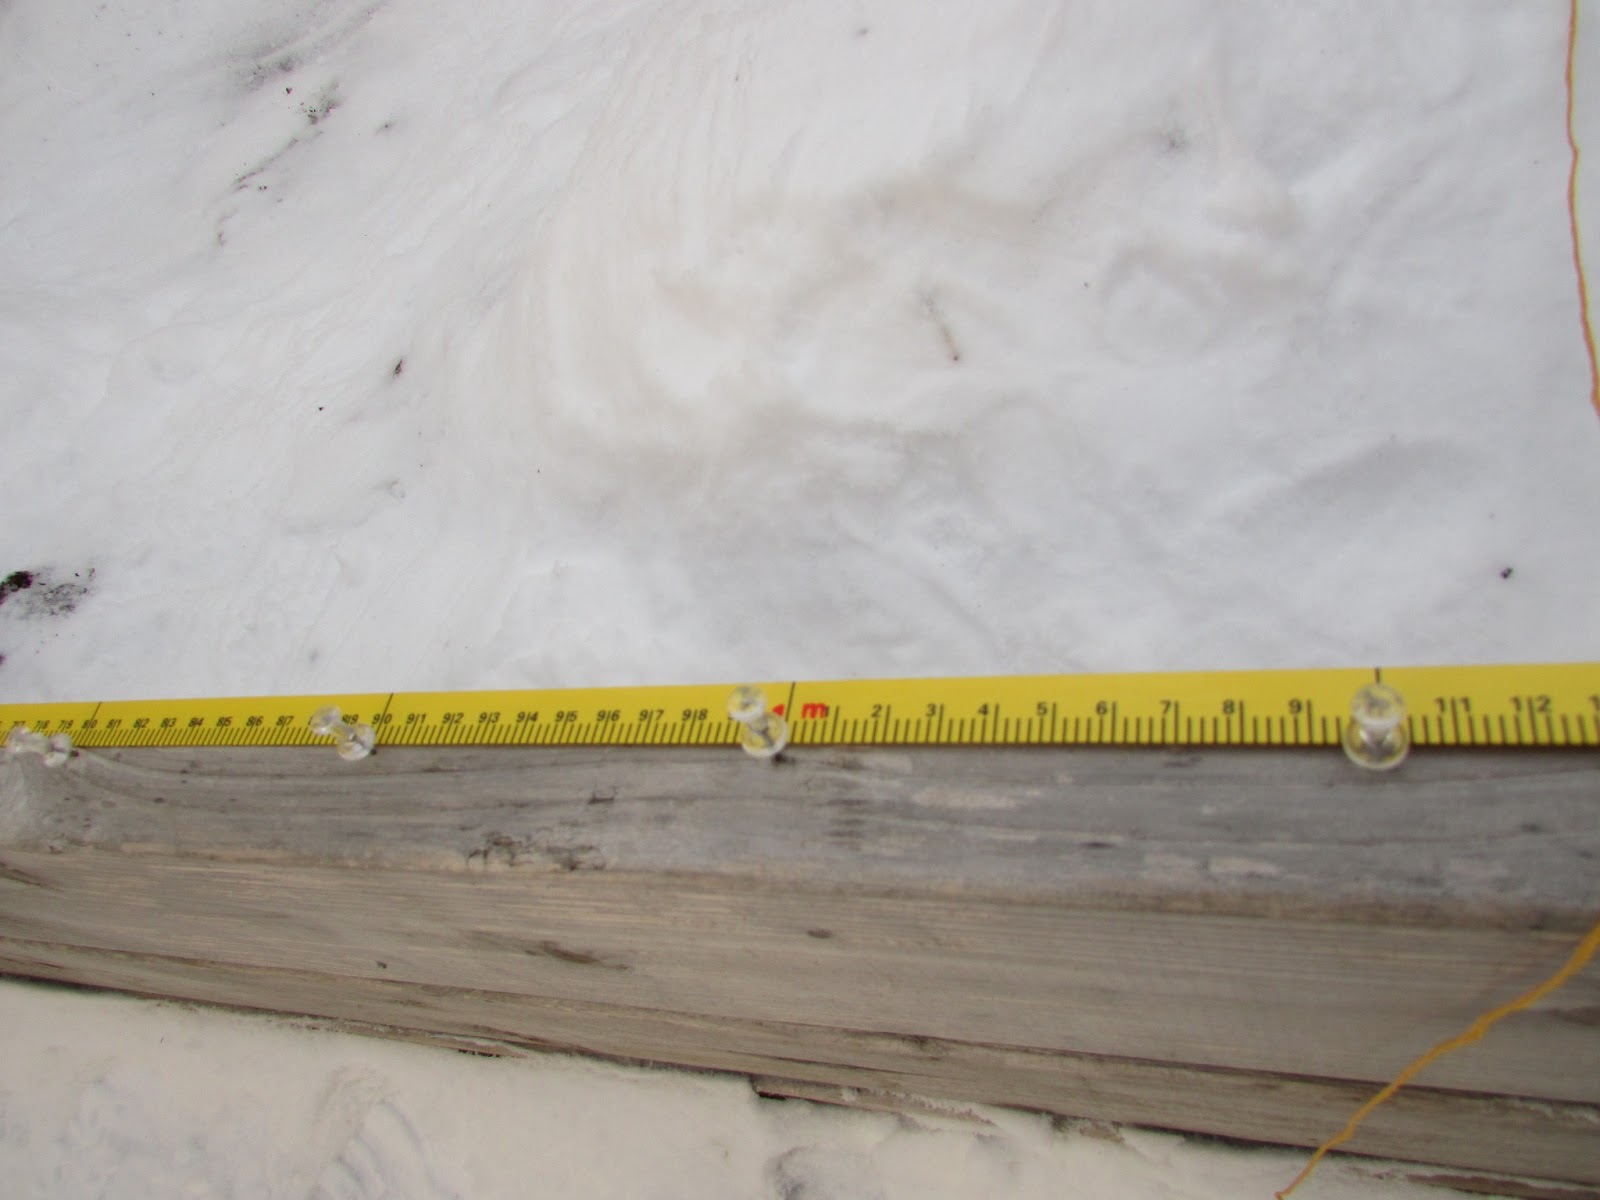
This was a fairly straight forward activity. All that was required was either a sonic range finder and a compass, or a laser range finder that also calculates azimuth. During the class, we each familiarized ourselves with the new gear, as we haven't used it before. To test everything out, we simply went behind Phillips Hall and recorded data using a distinctive tree as an origin point. Using the laser range finder, I recorded the distance and azimuth of two art structures, an emergency phone, and several trees. Once everyone had done the same, we entered the data into ArcGIS by creating an Excel spreadsheet and used the Bearing Distance to Line tool to create a feature from the recorded data. Before this, however, it was necessary to locate the origin tree and find out the latitude and longitude values of its position by using an aerial map. The completed feature was quite accurate, with only minor variance from accidentally moving (inconsistent origin).

Now that we had familiarized ourselves with the gear and the computer lab work, it was time to conduct our own survey on the UW-EC campus. Laurel and I decided to survey the stone benches on the new campus mall. First, I checked the aerial map to look for suitable locations to use as an origin point. We chose to use the library entrance as the origin because it is a slightly elevated platform and would have a good view of most of the campus mall. Midway through the survey, we had to select a second origin because some of the benches weren't in view. For this second origin point, we chose the doorway to Schofield Hall. We had to make sure we would be able to find it in an aerial map, and the doorway was perfect.

Laurel and I had a good process to record the azimuth and distance data. I used the laser range finder to calculate the distance and azimuth while she recorded the data in a notepad, collecting 41 points total. The field work was surprisingly quick with the laser range finder. After the data was collected, Laurel made an Excel spreadsheet of the data, which was then entered into ArcGIS like we previously did. Then, using the Bearing Distance to Line tool, we once again created features of the data. We had to make special note of which points were collected at which origin, since we had more than one.

Results
Once again, the data was surprisingly accurate. Figure 1 displays our work. There does appear to be a lot of open space between the two origins, which could be from slightly skewed data or missed benches completely (it had just snowed before we took the survey).

Figure 1: The red lines display the data collected from the library entrance and the blue lines display the data collected from the Schofield Hall doorway. Unfortunately there is no aerial photo to compare the results to.

Discussion
I thought that the survey went quite well, and it was a quick and easy process as well. This activity was quite fun and I think that the methods we learned will come in useful later in my career. It would have been nice to be able to check our results and see how accurate our survey was, but our campus was too new to have a recent aerial photo. All in all the entire activity went well.

Sunday, February 17, 2013

Activity 3: Equipment Construction & Testing

Introduction
This activity was a prep session for the activity that we will be doing next week. The class plans to use a balloon rig to take aerial photos of the campus. We will also be conducting a high altitude balloon launch (HABL), with a camera rigged to it. During this activity, we simply needed to construct the rigs for both, and test all the equipment to ensure that the launching of the balloons is smooth and successful. The class was not split in to groups for this activity so it was somewhat unorganized, but I mostly helped with the construction of one of the balloon mapping rigs.

Methods
As said before, this activity was a prep for the next. There were several different things that needed to be prepared and tested during this activity. The list consisted of construction of a mapping rig, construction of the HABL rig, parachute testing, payload weight, testing the continuous shot on the cameras, and testing of the tracking device. I mostly helped out with the construction of one of the mapping rigs (two designs were created) so this methodology will consist of the process of the mapping rigs construction.

Our design for the mapping rig included the use of a one gallon Rain X bottle, a camera, string, tape, and scissors. The main idea was to mount a downward facing camera inside the Rain X bottle with the bottom removed. The first step of this process was of course removing the bottom of the Rain X bottle. It was necessary to leave enough length for the camera to hang, and have a length below the camera so that when the rig lands, the camera isn't damaged.

Figure 1: The rigs plastic bottle casing.
Once we finished the rig's casing, we had to come up with a design to hang the camera inside of it. Our design calls for 1.5 meters of string that is tied into a loop. Two ends of this loop are then wrapped around the camera, securing the string to the camera with tape. The length of the string that isn't secured to the camera is then pulled through the bottom of the casing and out the nozzle on the top of the bottle. The string would then be attached to the balloon. In order to keep the camera hanging freely within the case, and not pulled to the top by the balloon, another length of string was attached to the camera, pulled out the top of the casing, and then tied securely to notch at the bottom of the plastic bottle casing. Figures 2 through 5 show the camera rigging in detail.

Figure 2: Rigging the camera.

Figure 3: A look at the camera's face.

Figure 4: The camera as it hangs.

Figure 5: The camera within the casing (note the additional
rigging on the bottom of the casing).
The final touch to the rig are the stabilizing wings on the handle of the plastic bottle. These were made by cutting a six inch section off of the side of a 2 liter pop bottle. The wings were then securely taped to the rig's casing. These wings are necessary to stabilize the rig, and reduce spin from wind when the rig is in the air. With less spin, we would be able to collect more consistent images, and make it easier to mosaic when we make the aerial map in our next activity. Figure 6 shows this final step.

Figure 6: The rig's casing with attached wings.
Discussion
I thought that this activity went pretty well, even though it was a bit unorganized. The rig that we worked on did turn out well, but it seemed to me like the work wasn't evenly spread out. It would've helped if we had been divided into groups again, and assigned what to work on so that each person had something to work on. 

Results
The overall results of this activity were quite well. The class completed everything on the list that needed to be prepared and tested, including two different balloon mapping rigs, a HABL rig, parachute testing, camera testing, and equipment weighing. We now have nearly everything ready to begin the next activity (everything except the balloon prep, which would of course need to wait until the launch day anyway). Figures 7 through 10 show projects that other students worked on and completed with this activity.

Figure 7: Completed balloon mapping rig #1.
Figure 8: Completed balloon mapping rig #2.
Figure 9: Parachute testing
Figure 10: HABL rig


Sunday, February 10, 2013

Field Activity 2: Survey Revisit

Introduction
This activity was conducted to experience a vital procedure in field work: a revisit of the first Field Activity. During this activity, we looked for ways to improve on the first activity by trying to find flawed areas or coming up with new procedures that enable us to report more precise results. Where the first activity was learning how to work on the field with minimal equipment, this activity is learning how to improve our procedures by observing our previous results.

Methods
First, the team analyzed the data that was collected from Field Activity 1. This was done by importing the X,Y,Z excel spreadsheet into ArcMap and using several different Raster Interpolation tools to display the elevation data, each with varying results. The different techniques that were used included IDW, Kriging, Natural Neighbor, and Spline interpolations. These interpolations were then displayed in 3D using ArcScene. Figures 1 through 8 display the results of each of these procedures.

Figure 1: IDW Interpolation - Uses an
inverse distance weighted technique
to interpolate the data.

Figure 2: IDW technique in ArcScene.

Figure 3: Kriging Interpolation - uses a
Kriging procedure to interpolate the data.

Figure 4: Kriging technique in ArcScene.

Figure 5: Natural Neighbor Interpolation -
Uses a balance of data between neighboring
points to interpolate the raster.

Figure 6: Natural Neighbor Interpolation in ArcScene.

Figure 7: Spline Interpolation - Uses a
two-dimensional minimum curvature spline
technique to interpolate the raster.

Figure 8: Spline Interpolation in ArcScene.
The team decided that the Spline Interpolation best captured the elevation data of our terrain model, and decided to use it for the basis of our revisit. Our decision was to try and improve our measuring techniques, and measure more elevation points by increasing the amount of 5 centimeter intervals that are used in the survey.

The first area that was looked to improve on is the gear that is worn in the field. Learning from the past activity (the team had to work in extremely cold weather, with temperatures hovering around 0 degrees Fahrenheit) was extremely important here. Each team member was bundled up in their warmest clothes, as the temperature was still going to be quite cold (around 25 degrees Fahrenheit). Figure 9 is a fine example of this preparation process. After preparing for the cold weather, the necessary supplies were gathered and the team was ready to go. For this survey, the supplies used were meter sticks, measuring tape, string, and thumb tacks.
Figure 9: Preparing for the cold weather.
During this activity, the team's goal was to revisit Field Activity 1, so the same planter box was used in the courtyard outside of Phillip's Hall on the UW-Eau Claire campus. Unfortunately, it had snowed in the week since our first activity, so it was required to pack the snow back down into it's original form (this was also necessary because the additional snow had piled over the edge of the planter box, which would effect the measuring process later in the survey). Figures 10 and 11 show the team's process.

Figure 10: Tonya and I observing the remains
 of the terrain model.
Figure 11: Laurel and I packing the model
down to its original form.

With the terrain model restored, the team began to construct the coordinate system with a new and improved technique. It was decided that we should keep the measuring tape along both sides of the y-axis (Figure 12), but we decided to improve the original design by measuring out the x-axis at 10 centimeter intervals and pulling string across the box on each of these points (Figures 13 through 15?). This process would help to make the measuring process quicker and more precise. Figure 16 displays the completed coordinate system.

Figure 12: Tonya applying the measuring tape
 to the y-axis.
Figure 13: Thumb tacks every 10 centimeters
on the x-axis.
Figure 14: Tying string to the thumb tacks.
Figure 15: Stretching string across the  box.
Figure 16: The completed coordinate system.

Once the coordinate system was complete, the team began to take measurements. To improve on our first survey, we decided to increase the amount of measurements by taking more measurements at 5 centimeter increments. The decision was made to take these finer 5 centimeter measurements on the lower part of the model and at the upper part of the model (these are the areas with greater variation in elevation). The middle of the model, which is mostly flat was still measured with 10 centimeter measurements.

The measurements were taken in much the same manner as they were in the first field activity, though we came up with a new way of measuring at the 5 centimeter intervals. It would have taken too long to put string every 5 centimeters, so the team decided to line the first string (which would have a value of 10 on the x-axis) with the 5 centimeter mark on the mobile x-axis. This ensured that an accurate 5 centimeter interval was measured exactly between two of the strings. A separate meter stick was then used to measure the negative elevation by using the value at the bottom of the mobile x-axis.  Figure 17 displays the overall measuring process, while Figures 18 and 19 display the finer details.

Figure 17: I take measurements while Laurel records.
Figure 18: Aligning the mobile x-axis with the string intervals.
Figure 19: Taking an elevation measurement.
Once all of the elevation measurements were recorded, an excel spreadsheet was created with columns for the X, Y, and Z values. Once again, 17 was added to each Z value to account for the negative measurements (-16 was the smallest integer again). After the excel spreadsheet was complete, the same procedure as earlier was used to observe the results in ArcMap and ArcScene. Figure 20 displays the new Spline Interpolation, while Figure 21 displays the terrain in ArcScene. Figure 22 displays the Spline Interpolation of the first survey for comparison.

Figure 20: Spline Interpolation of Survey 2.
Figure 21: Survey 2 displayed in ArcScene.
(the spike by the ridge is a small ice boulder)
Figure 22: Survey 1 displayed in ArcScene.


Discussion
Once again, the team encountered some problems and overcame challenges to improve on our original survey. We thought that we did fairly well with the first survey, so it was just a matter of fine-tuning our techniques. The weather was a factor once again, though it wasn't as bad as the previous activity. Laurel, Tonya, and I each worked hard to complete this second activity quickly and accurately. I think that we did quite well with the second activity, considering the weather, the new technique, and the fact that we had nearly twice as many elevation measurements in the revisit. These points make the most impact in the upper right area of the model, as can be seen when comparing Figure 21 and Figure 22. With a finer coordinate system, more data was able to be collected, giving the digital model a more realistic appearance. 

Conclusion
Our results turned out to be quite good, all things considered. We did improve on our original techniques, and increased the detail of the digital model by adding more measurement points in the upper right area of the model, covering the ridge and valley with more coordinate points. This gave our digital model a finer look, adding to the overall quality of the digital terrain model.

Sunday, February 3, 2013

Field Activity 1: Conducting a Geospatial Survey

Introduction 
The purpose of this activity was to use critical thinking skills and teamwork to create a small scale terrain survey. Using limited equipment, we were required to build a small terrain model and conduct a survey on the model using a created coordinate system.

Methods
The first step in this assignment was to build a terrain model in a planter box outside of Phillips Hall, on the UW-Eau Claire campus. We were instructed to choose between sand and snow to build the model. Our team decided to build with snow, for the dirt in the box was quite frozen. It was required to include a ridge, hill, depression, valley, and a plain in our model. Unfortunately, Laurel was sick when we had planned to do the project, so it was up to Tonya and I to complete it. Images 1 and 2 display the construction process.

Image 1: Terrain Construction
Image 2: Terrain Construction

After the construction of the terrain model was complete, the surveying process began. For this process, the only tools that we had to use were meter sticks, measuring tape, and string. We had a plan to use a coordinate system that used centimeter values along the X and Y axis, using 0,0 as the origin. Our team decided to use increments of 5 centimeters for the areas with a lot of elevation change, and increments of 10 centimeters in areas where there was little variation. Measuring tape was laid across both of the Y axis, and a meter stick taped to a larger stick was used as a movable X axis to make measuring much more easy. 

Once the coordinate system was laid out, we began measuring the elevation of the terrain model. For this process, we simply laid the movable X axis across the box, aligning both ends at the desired Y value, and used a second meter stick to measure the distance between the top of the box and the surface of the terrain model at different X values. Tonya and I worked out a system where one person measured the Z values, while the other recorded them on a piece of paper. Images 3 and 4 display this process.

Image 3: Measuring Z values
Image 4: Recording Z values

After the surveying process was complete, an Excel spreadsheet was made, listing the X,Y coordinates and the corresponding Z values. Because we measured down from above the terrain, the Z values were negative. To fix this (and display the actual elevation values) we added 17 centimeters to each value. This number was chosen because the lowest recorded value was -16 centimeters. After 17 was added, each Z value was a positive integer.

Discussion
This assignment was much more of a challenge that I had originally thought. With one member short, and such cold weather, Tonya and I had our work cut out for us. In class, our professor told us how essential it is to have good problem solving skills while working in the field, and I feel like this assignment portrayed that lesson well. We ran into several challenges, and without the necessary skills to overcome them this assignment would have been even more difficult. 

Some of the challenges that we faced included the weather, coordinate system details, and even some difficulties with the terrain model itself. Tonya and I overcame these challenges by working together and making the best of the situation. It would have been nice to have Laurel there to help as well, but sickness can't be predicted either so it was just another lesson to factor in to the assignment.

Conclusion
I think that Tonya and I did a great job considering all the factors and set backs. We were able to communicate well with each other and complete the project like our team had planned to do. It was a good challenge and a great lesson, and I am satisfied with the results. I feel like a valuable lesson was learned: to always make due with the situation, and complete the job with the materials that you have. Overall, I think that the assignment went well.